Cloudy with a Chance of the Milky Way
Adventures in Night Sky Photography

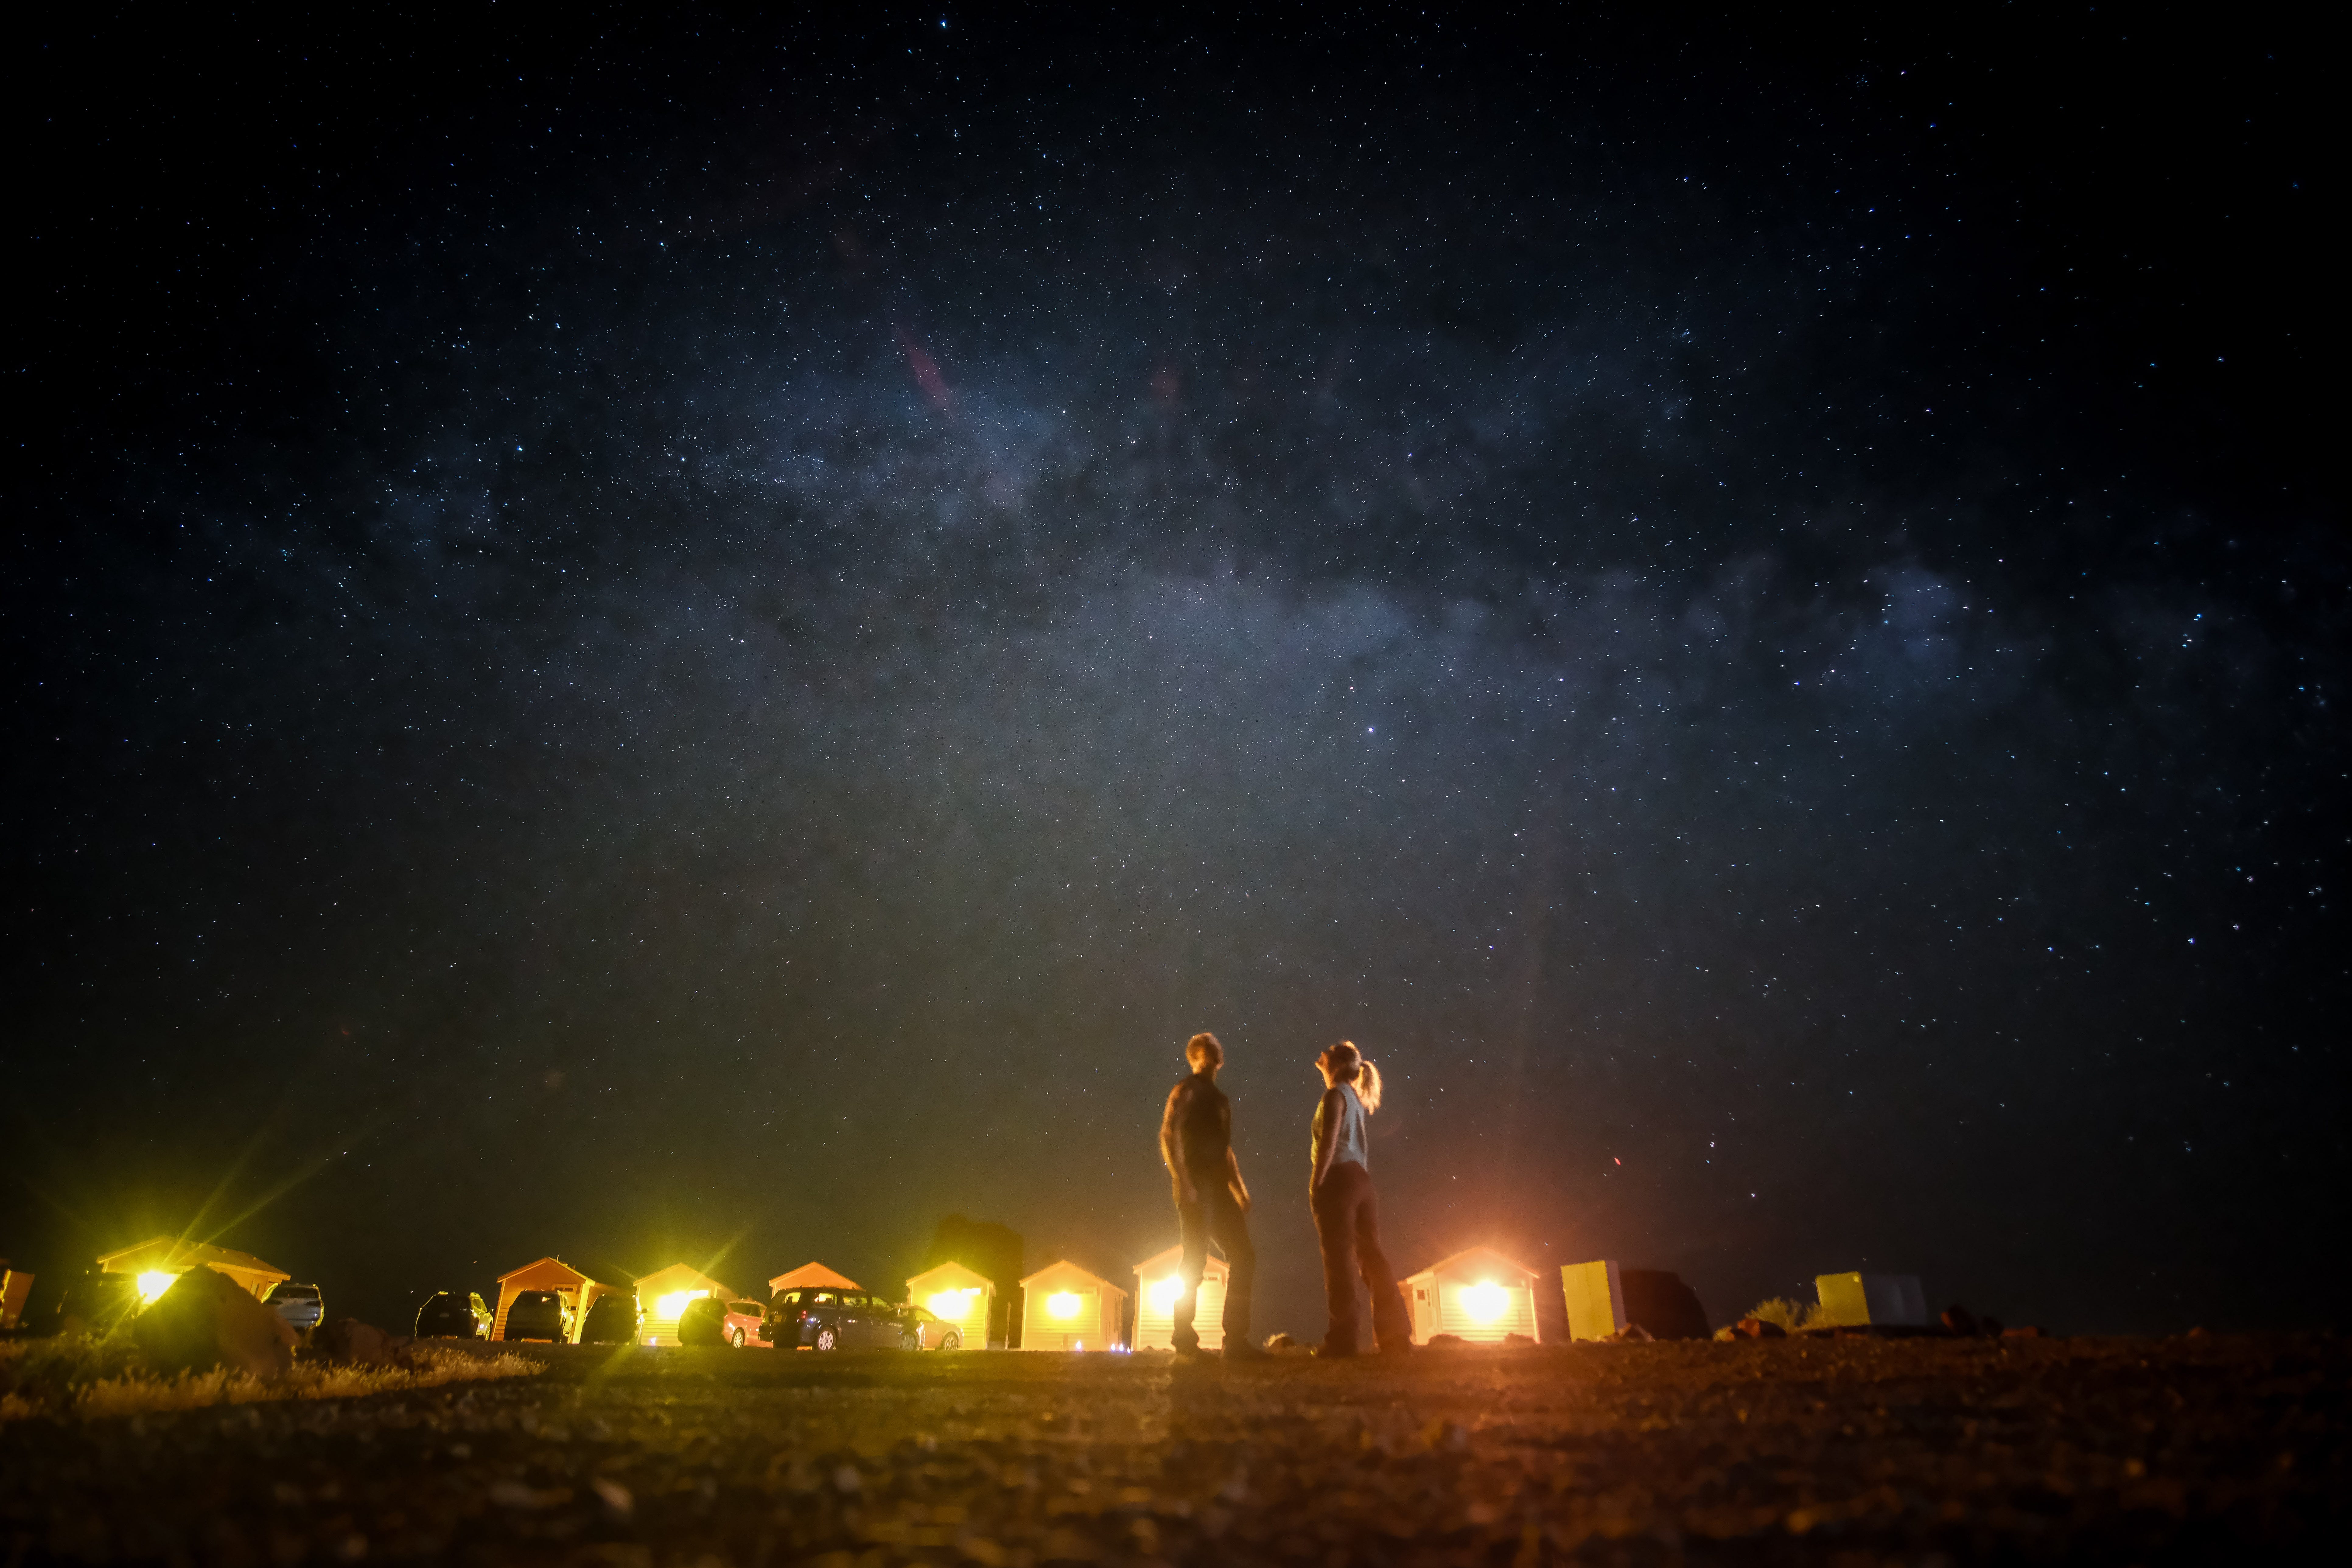
We were camping on an island off Nova Scotia.
I lingered by the campfire while Naomi and the kids slept in our tent. I breathed in the salty ocean air, hopeful of catching the sound of humpback whales nearby.
The flames flickered out, the chilly night air set in, and my eyes adjusted to the surrounding darkness.
Ready to turn in for the night, I looked back at the tent but was captivated by the Milky Way stretching across the sky. Why not try a photo?
I recalled some astrophotography tips I read months ago, so I got my camera and adjusted the settings in the low light.
My heart skipped a beat when a faint glow of the Milky Way appeared on my camera screen after a 5-second exposure.
Before long, I was lost in the experience. 10-second exposures, 30-second exposures. Bumping the ISO. Recomposing. Adjusting the focus. Frame after frame, I saw the Milky Way explode with brightness on the back of my camera.
When I finally stopped, I couldn’t believe how fast the time had gone. We had an early rise so I crawled into the tent and settled beside my sleeping family.
The excitement of capturing the Milky Way for the first time filled me with an addictive buzz, so sleep didn't come easily. Just a couple of hours ago, I hadn't noticed the Milky Way in years. Now, I’ve tried astrophotography—and it worked!
I was eager to share the picture with Naomi—hopefully, it would look just as stunning in the light of day.
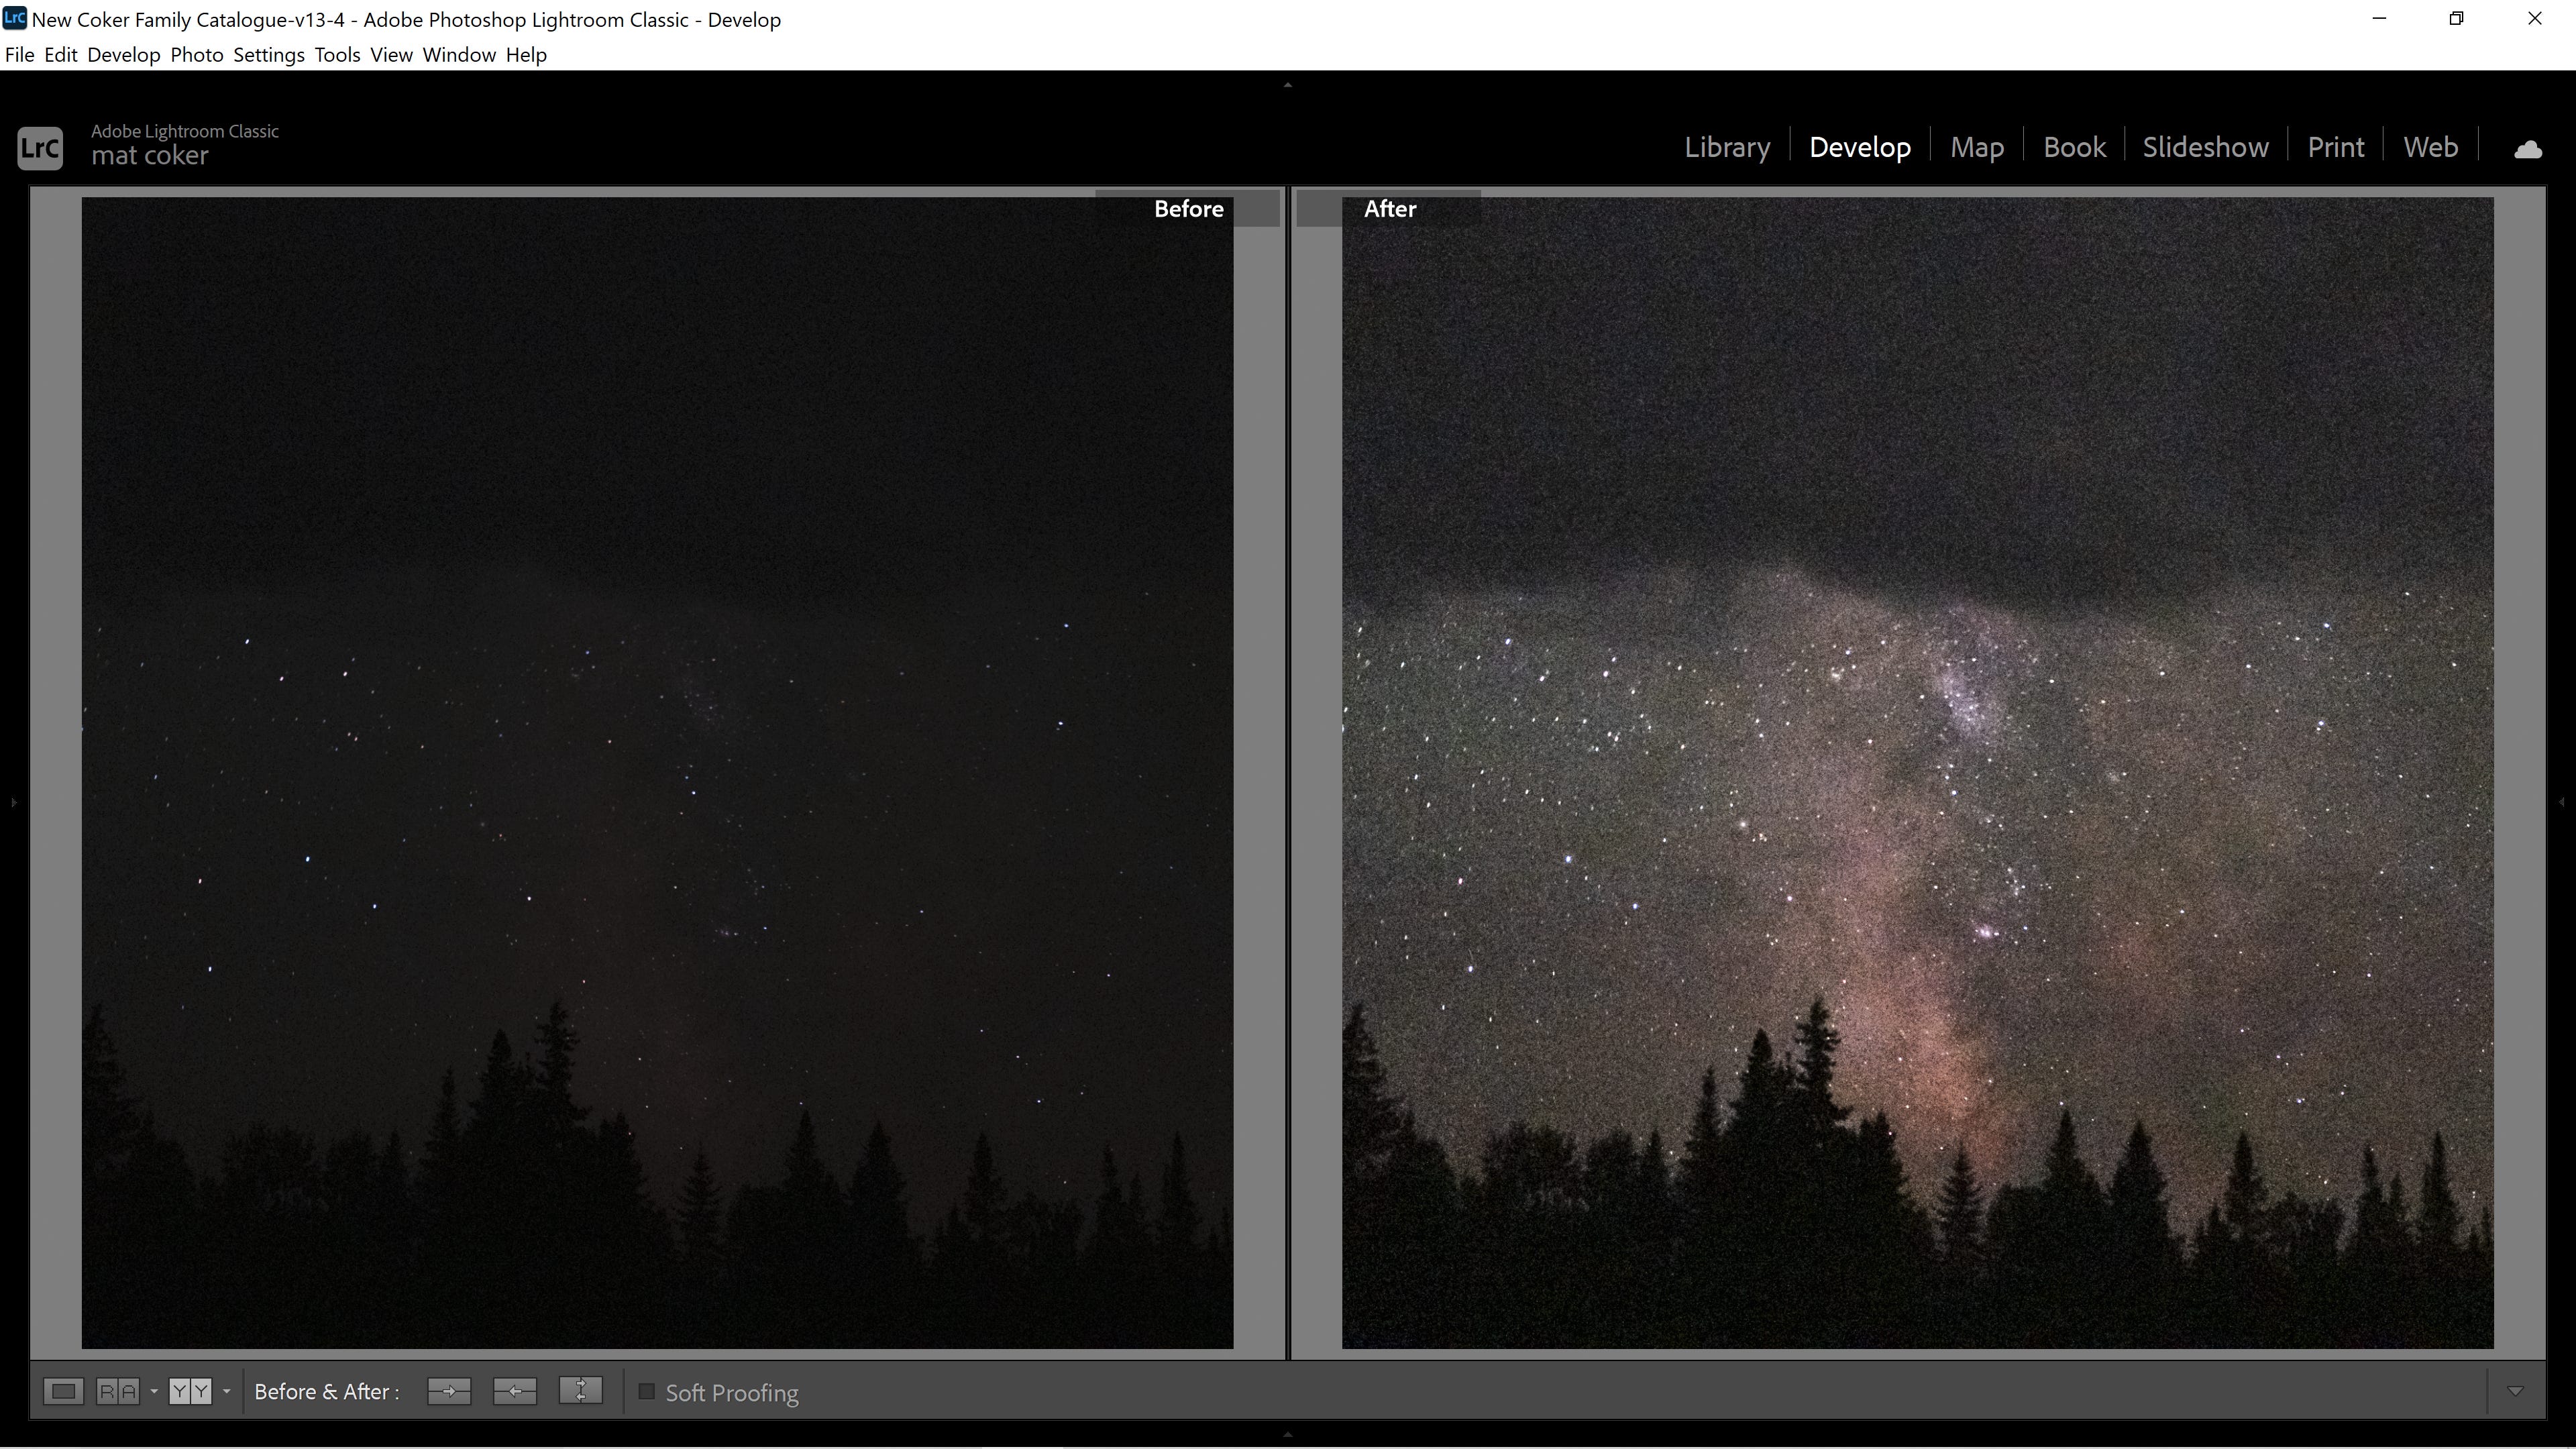
Some doubt crept in about the exposure of my photos. Would they look as nice during the day as they do right now? Images always appear brighter in the dark than during the daylight, especially when printed.

That first photo was terrible but it hooked me on photographing the Milky Way.
There is no mystery about what went wrong; the photo of the Milky Way is underexposed.
I could have overcome the problem if only I had known for sure what was happening.
When I first captured the picture, I peered at my camera's screen in the darkness and the image of the Milky Way seemed bright.
This is a common illusion faced by night photographers, as our eyes adjust to low light, making any light source appear more intense.
In a well-lit environment, the ambient light dominates, revealing the true exposure of the photograph, which is often darker than expected.
How can I improve my night sky photos?
Plan A - Refine my camera settings.
Striving for a brighter exposure presented challenges.
Here's what I did:
Step 1 - Maximize the Aperture: The first step was to open the aperture to its widest setting to let in more light. The widest aperture I can achieve with my lens is f/3.5.
Step 2 - Adjust the ISO: I had to decide how high I was willing to bump my ISO. Higher ISO settings make the sensor more sensitive to light in low-light conditions but can also introduce more noise (graininess) into the image. 6400 was the highest I was willing to go—even that felt excessive.
Step 3 - Slow Down the Shutter Speed: My shutter speed tended to be 20 seconds. I would have to go beyond 30 seconds, closer to a full minute. But the challenge is avoiding star trails; if the shutter is open too long, the Earth's rotation will cause the stars to blur into streaks rather than sharp points.
Plan B - Find new tools.
Lenses, tripods, etc. are tools that help get a job done. So, after doing everything I could with my camera settings, I considered new tools.
Step 4 - Buy a lens with a wider aperture: I’m cautious about buying new gear unless it's essential. I've often thought, "If only I had _____, I could achieve _____." However, I've learned from experience that acquiring new gear doesn't always mean it will be used. I’ve become good at considering whether I really need new equipment or if I'm only drawn to its appeal.
A lens with a wider aperture would allow for a brighter exposure.
The irresistible allure of capturing the Milky Way will drive you beyond the technical challenges.
In October, I bought a new lens and took my family on a camping trip.
We love to camp in the autumn because there are no crowds and the weather is perfect for hiking.
When the family was tucked in the tent and the sky was black, I set out to take a creative shot of the Milky Way with my new lens.

Setting up my tripod, I pointed the camera to the sky through an opening in the towering trees.
The first shot captured only a sparse sprinkle of stars against the pitch-black sky. Even, after moving my position several times and adjusting my camera settings, the Milky Way remained elusive. Each photo showed only the faintest hint of stars, nothing like the vibrant galactic arc I had envisioned.
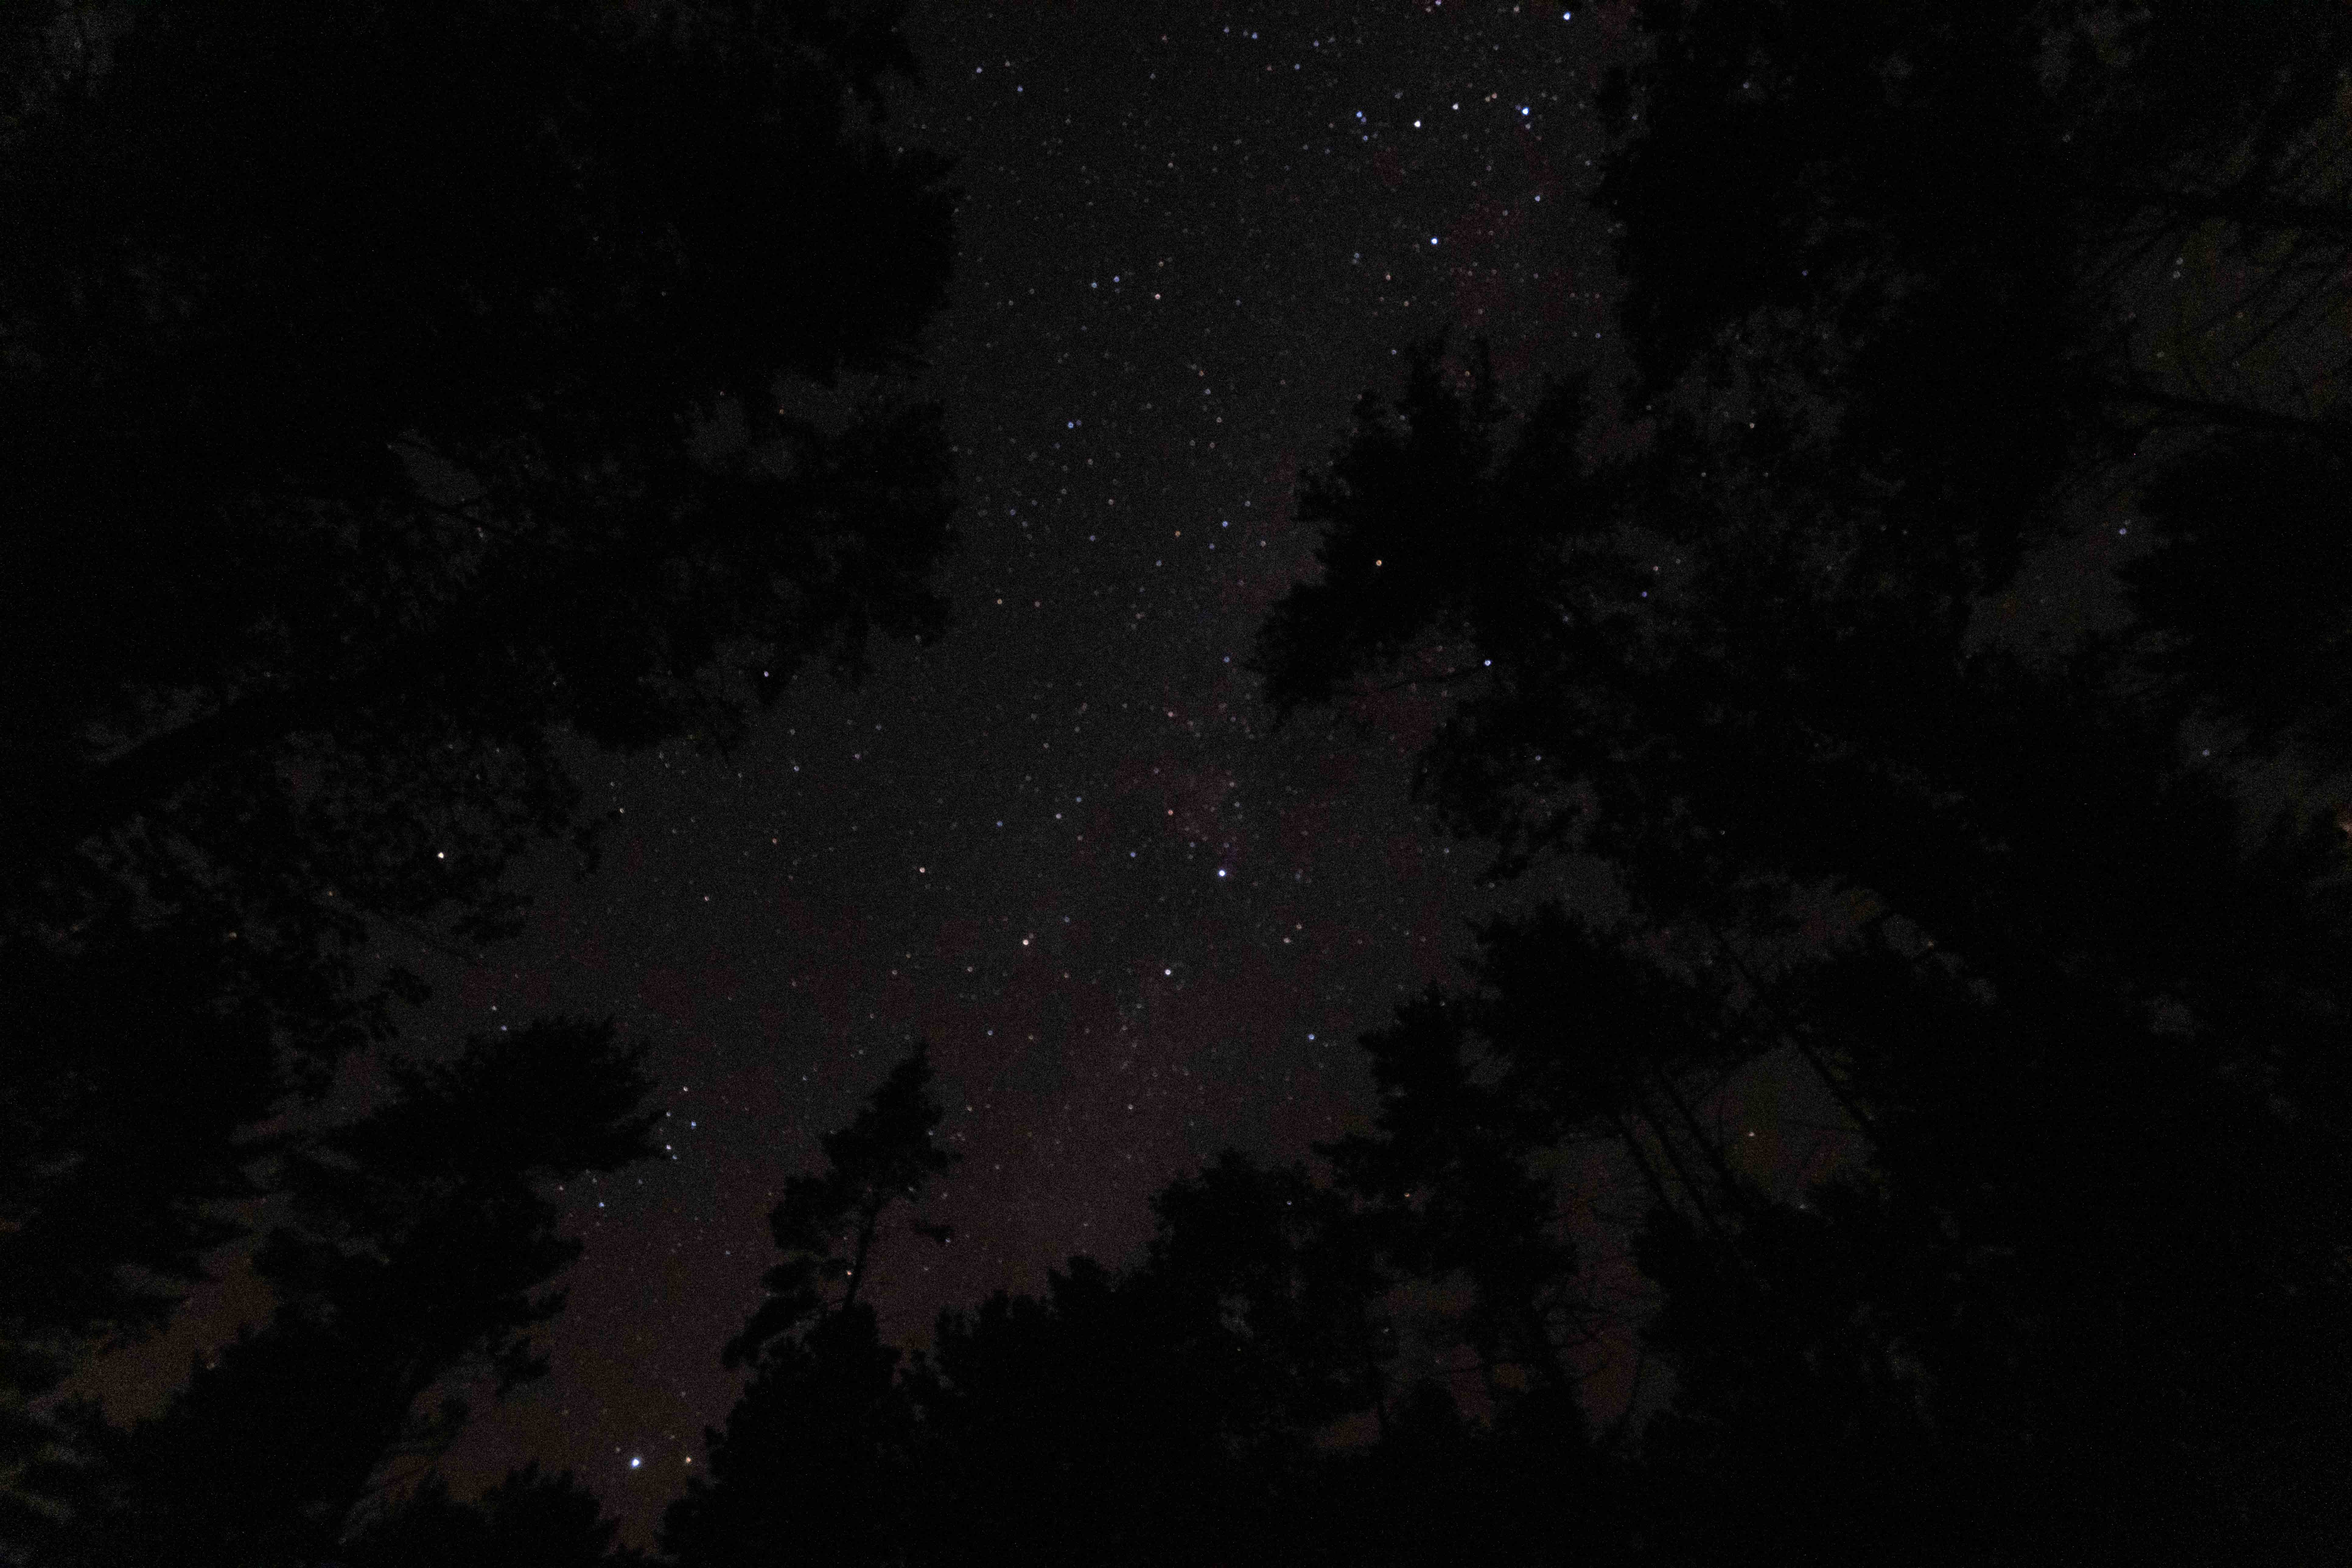
I was utterly confused. I know what I’m doing, I’ve done it before, and I’m working with better tools. Why can’t I see the Milky Way in my photo?
Dejected, I packed up my gear and walked back to camp. On the way, I recalled a nugget of wisdom from a seasoned astrophotographer—the Milky Way's visibility changes with the seasons. Could it be that my timing was off? I racked my brain, trying to remember the specifics.
I remember seeing the Milky Way in autumn skies before—a vivid memory from a Thanksgiving weekend in my teen years.
Understanding the nature of the subject you are photographing is essential.
I did some research over the winter and discovered the peak season to see the Milky Way is during the spring/summer months.
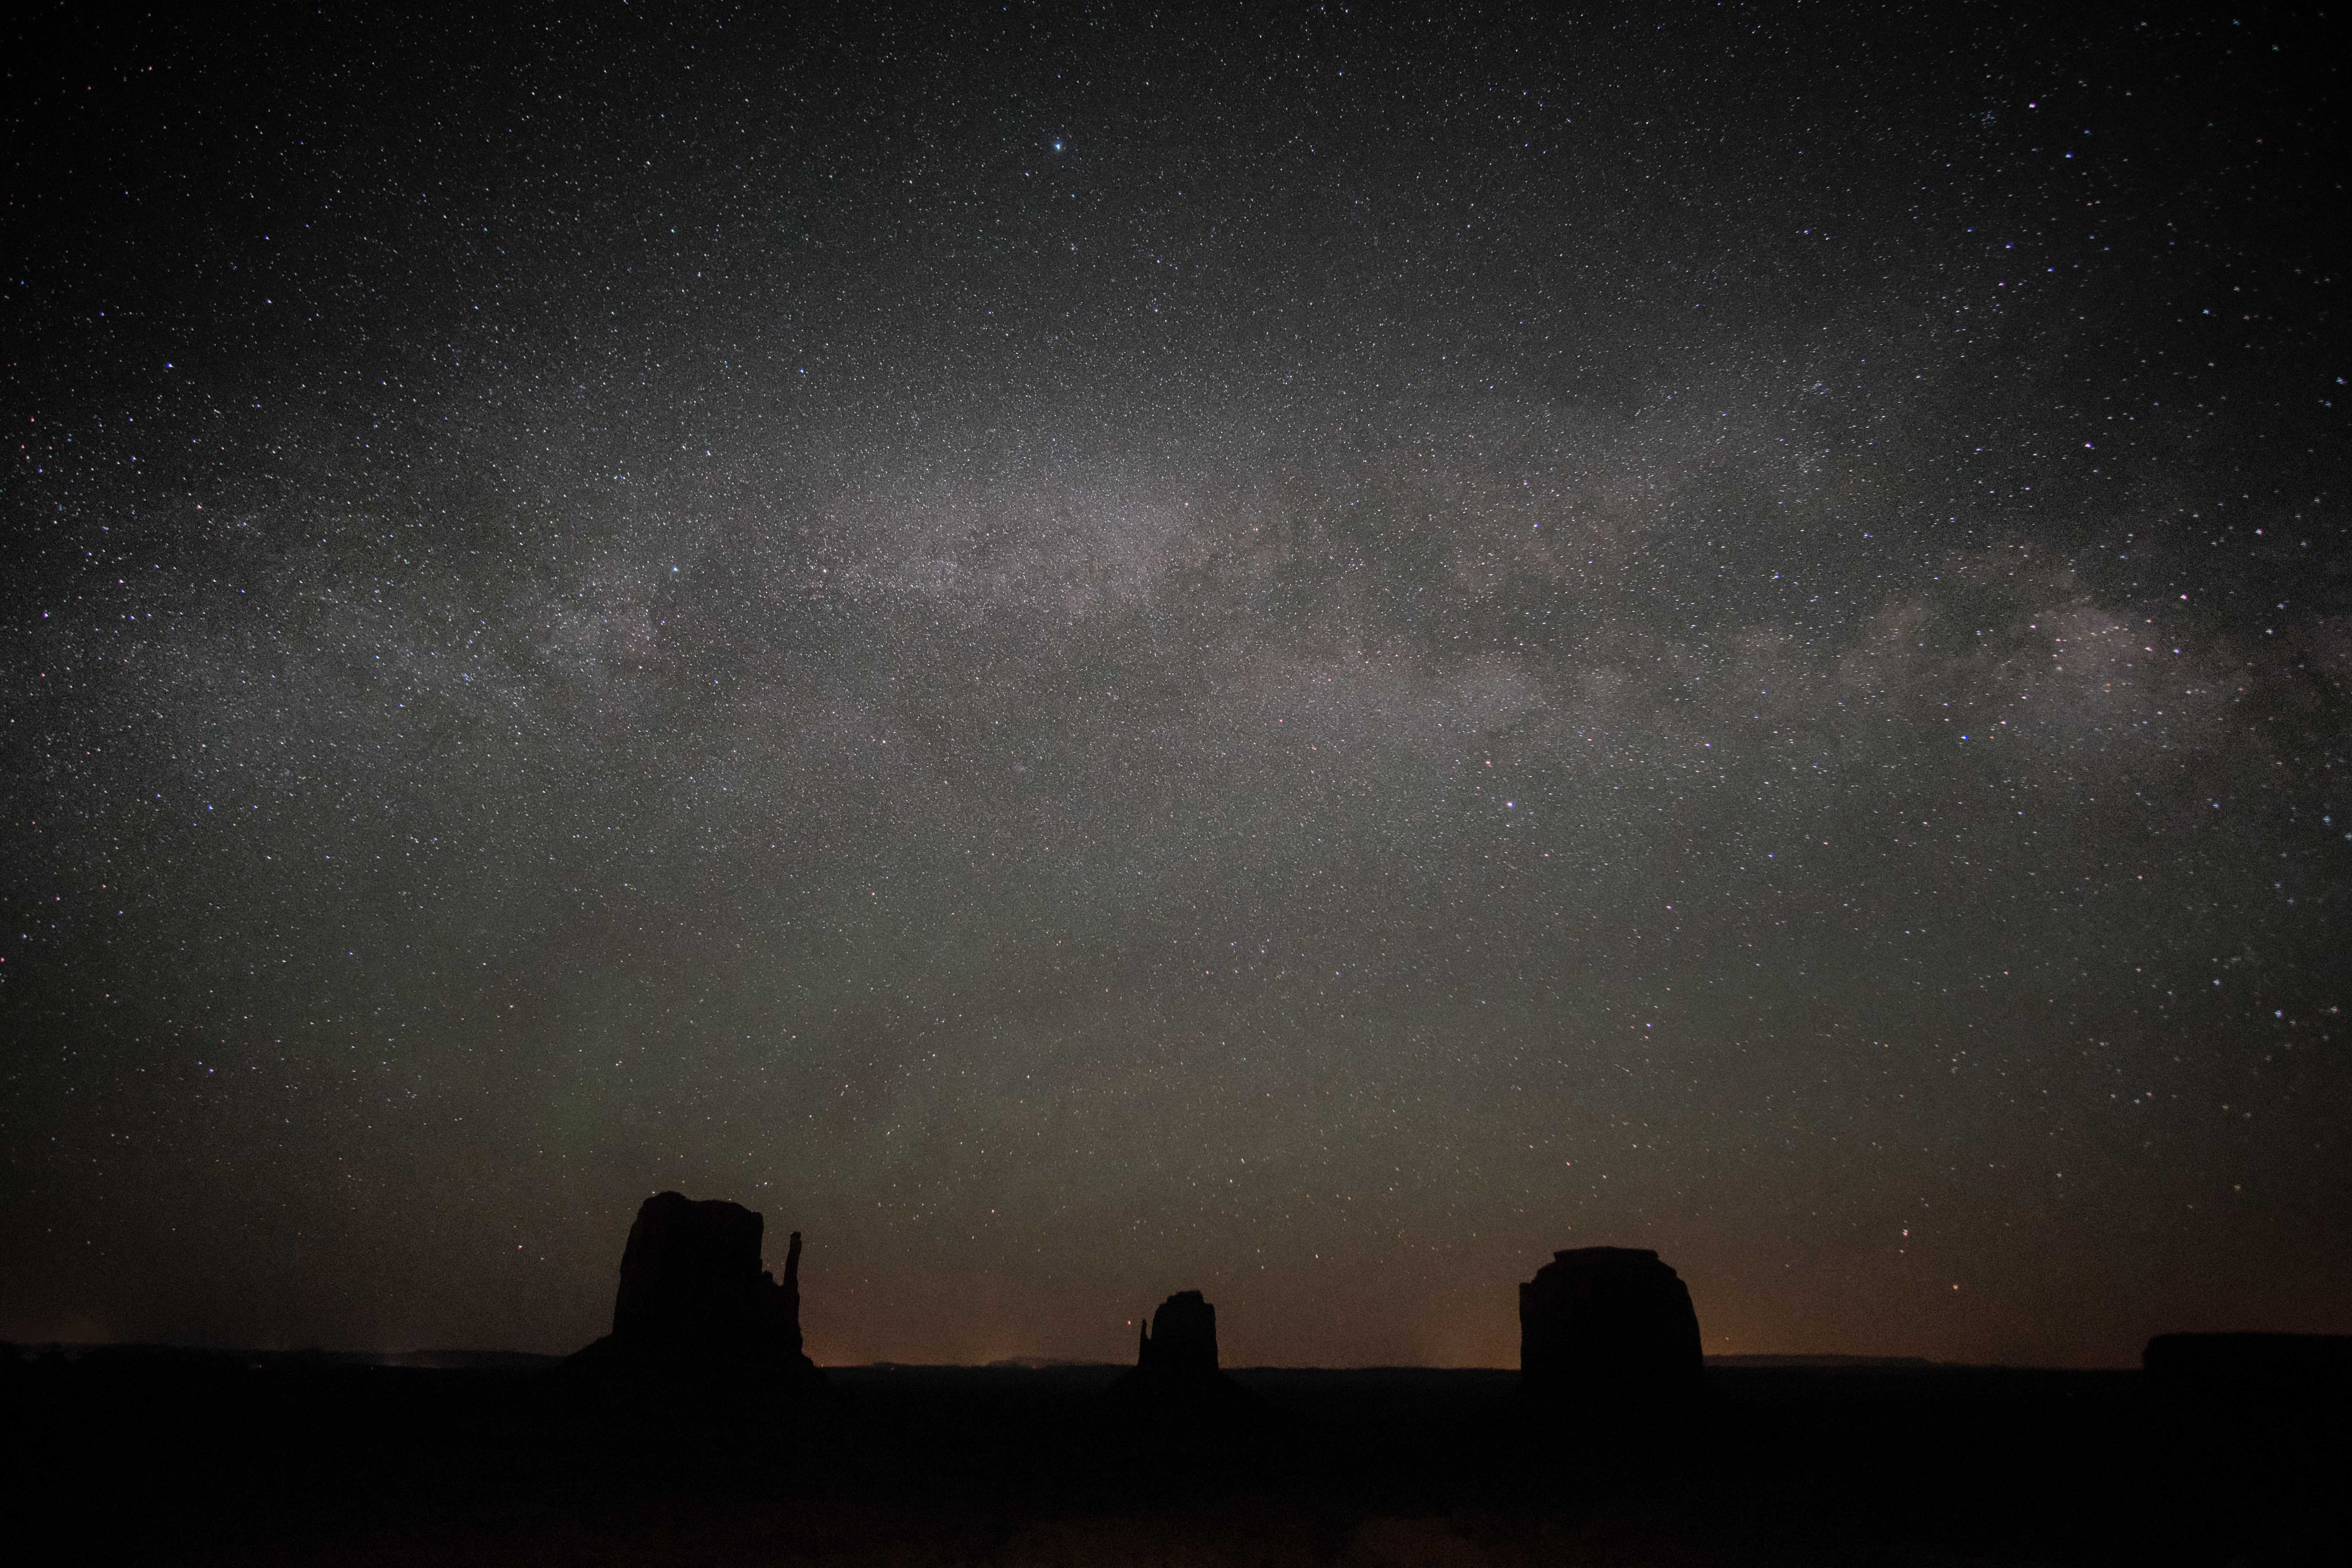
Armed with this knowledge, I eagerly awaited our five-week summer road trip. Our first few days of the trip were spent at campgrounds too close to city lights. Light pollution hinders any chance of capturing the Milky Way so I patiently awaited the dark southwest skies where I could capture the Milky Way rising over the Grand Canyon.
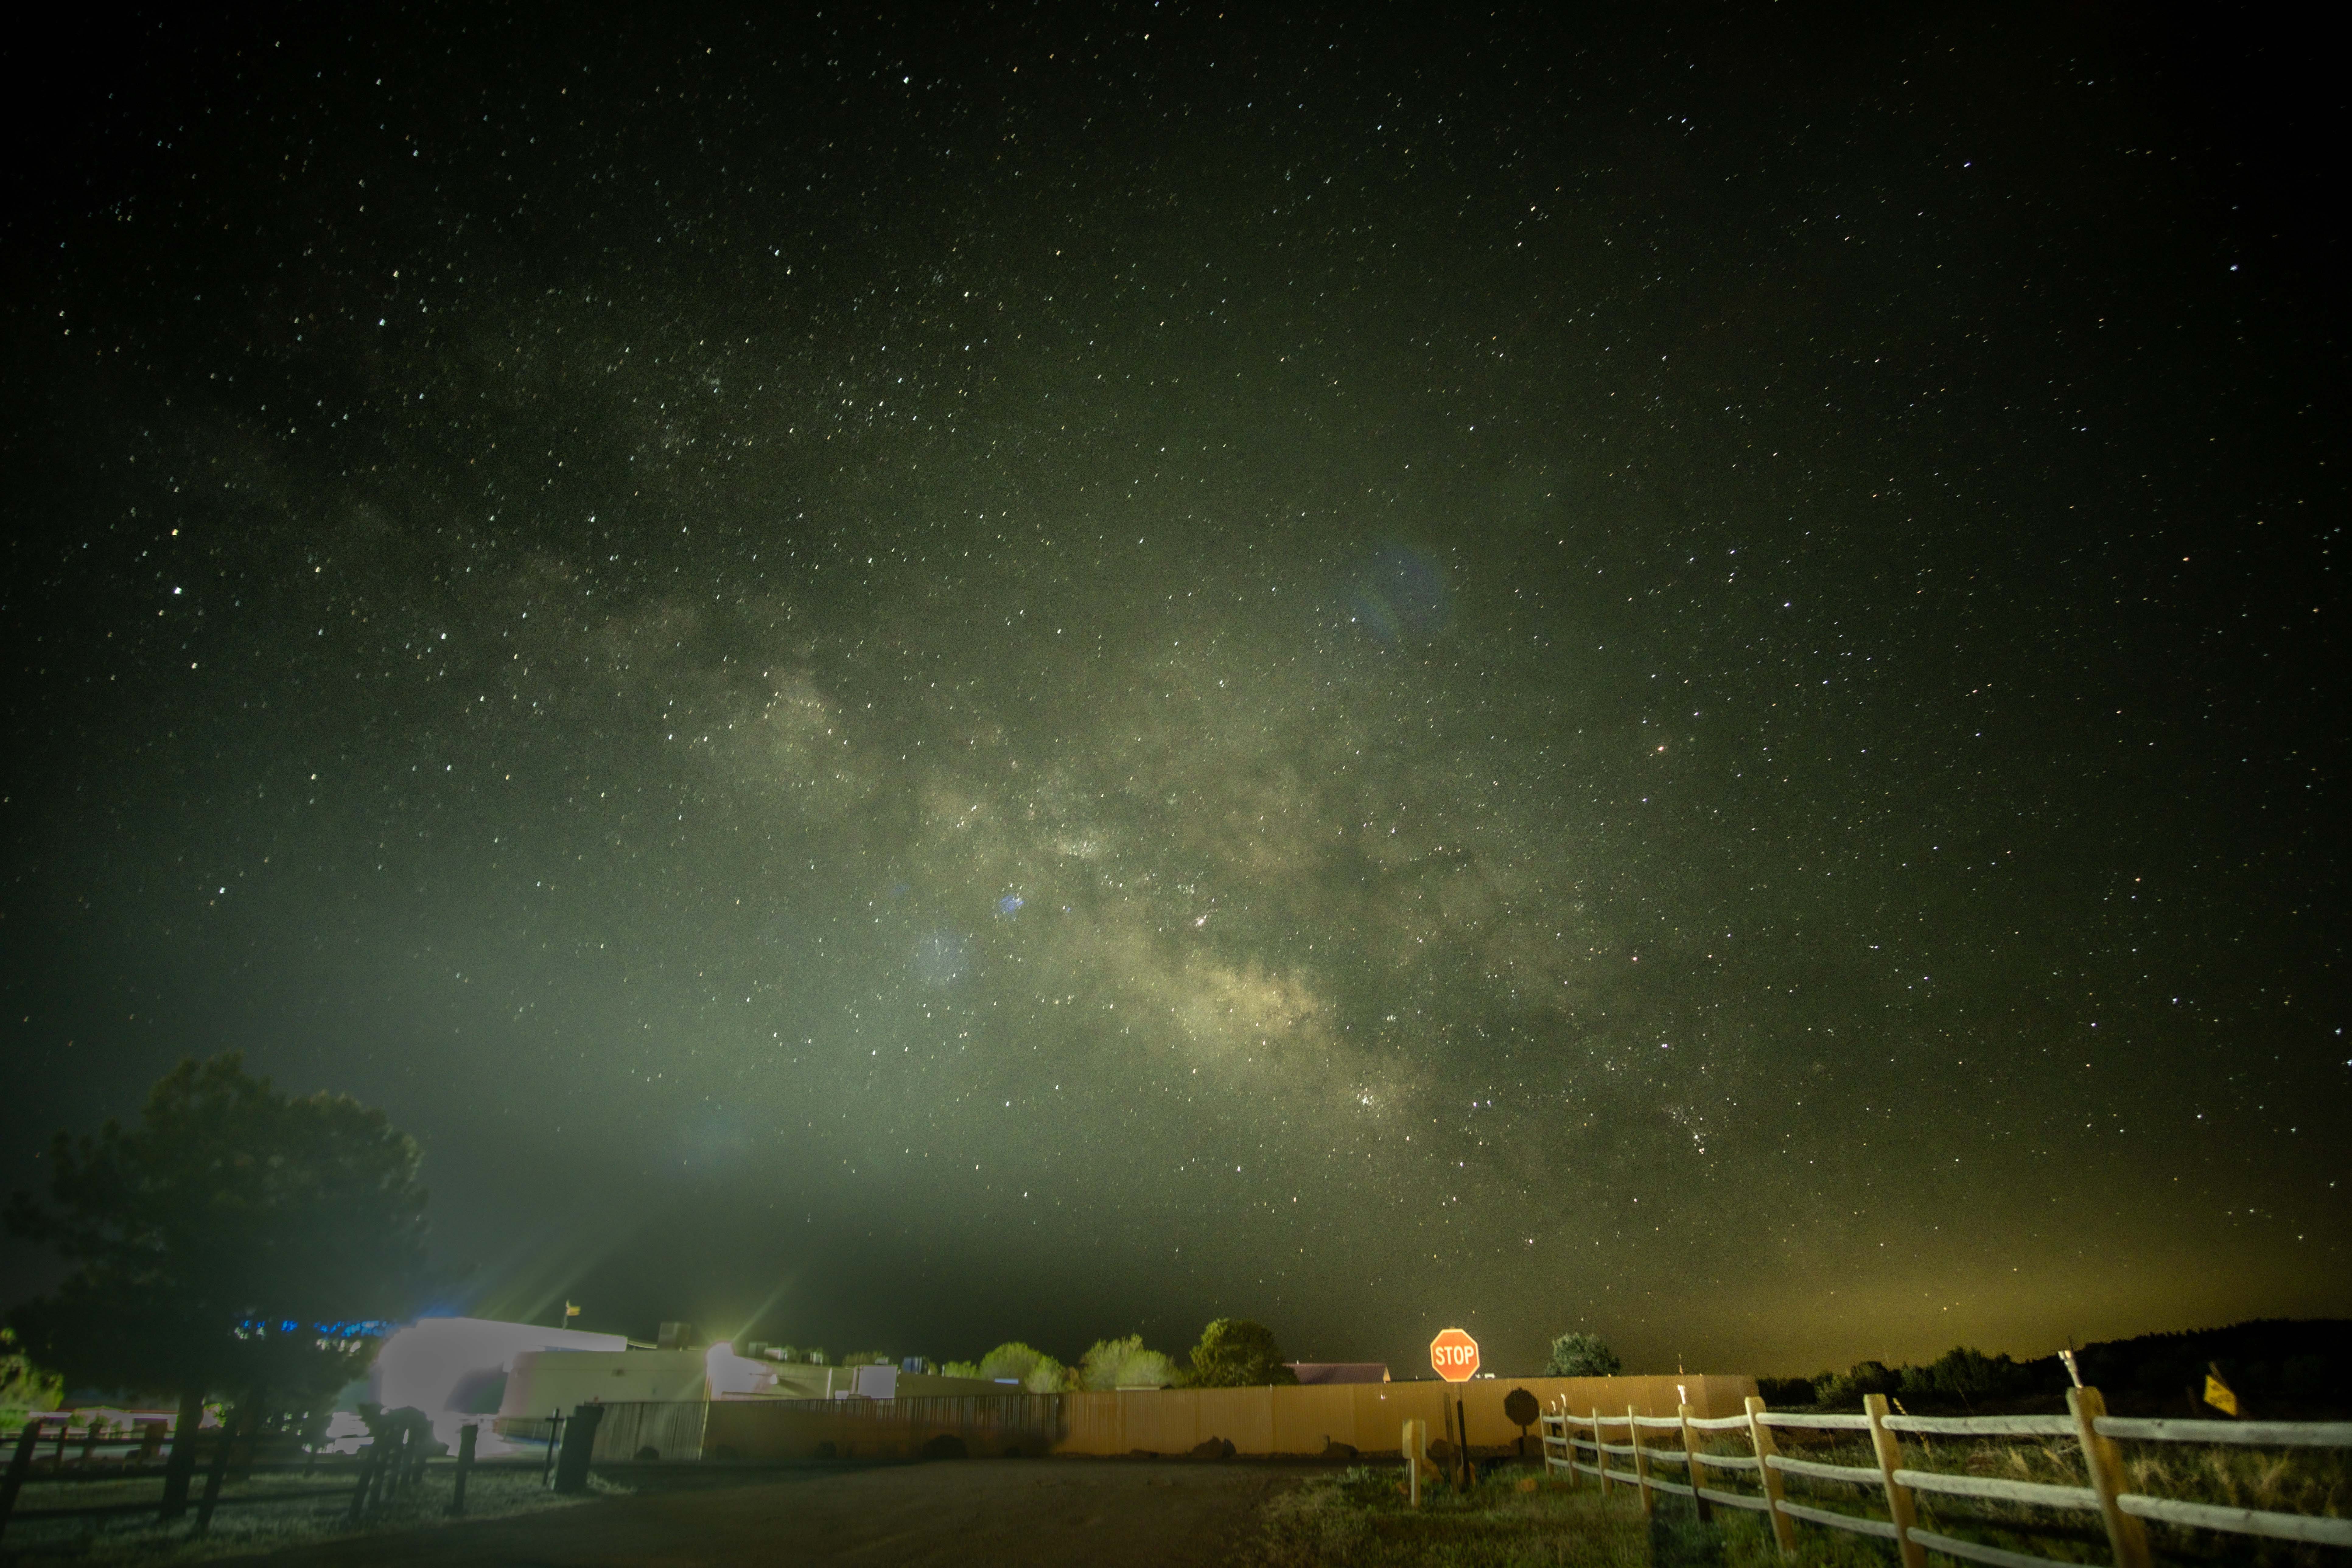
During a ranger-led astronomy event at the south rim of the Grand Canyon, I learned something fundamental:
Stars and the Milky Way don’t just appear when it's dark—they rise, much like the sun and the moon.
And more crucially for my plans:
The Milky Way rises predominantly in the southeast.
I didn’t need a compass to know that if I was standing on the south rim facing the Grand Canyon, the Milky Way would rise behind me. I needed to be stationed at the North Rim — a daunting 300 miles away.
How could I, armed with the right tools and a library of technical knowledge, have overlooked such a fundamental detail?
I had a feeling that capturing the Milky Way over canyons and mountains was going to be harder than I anticipated.
But then,
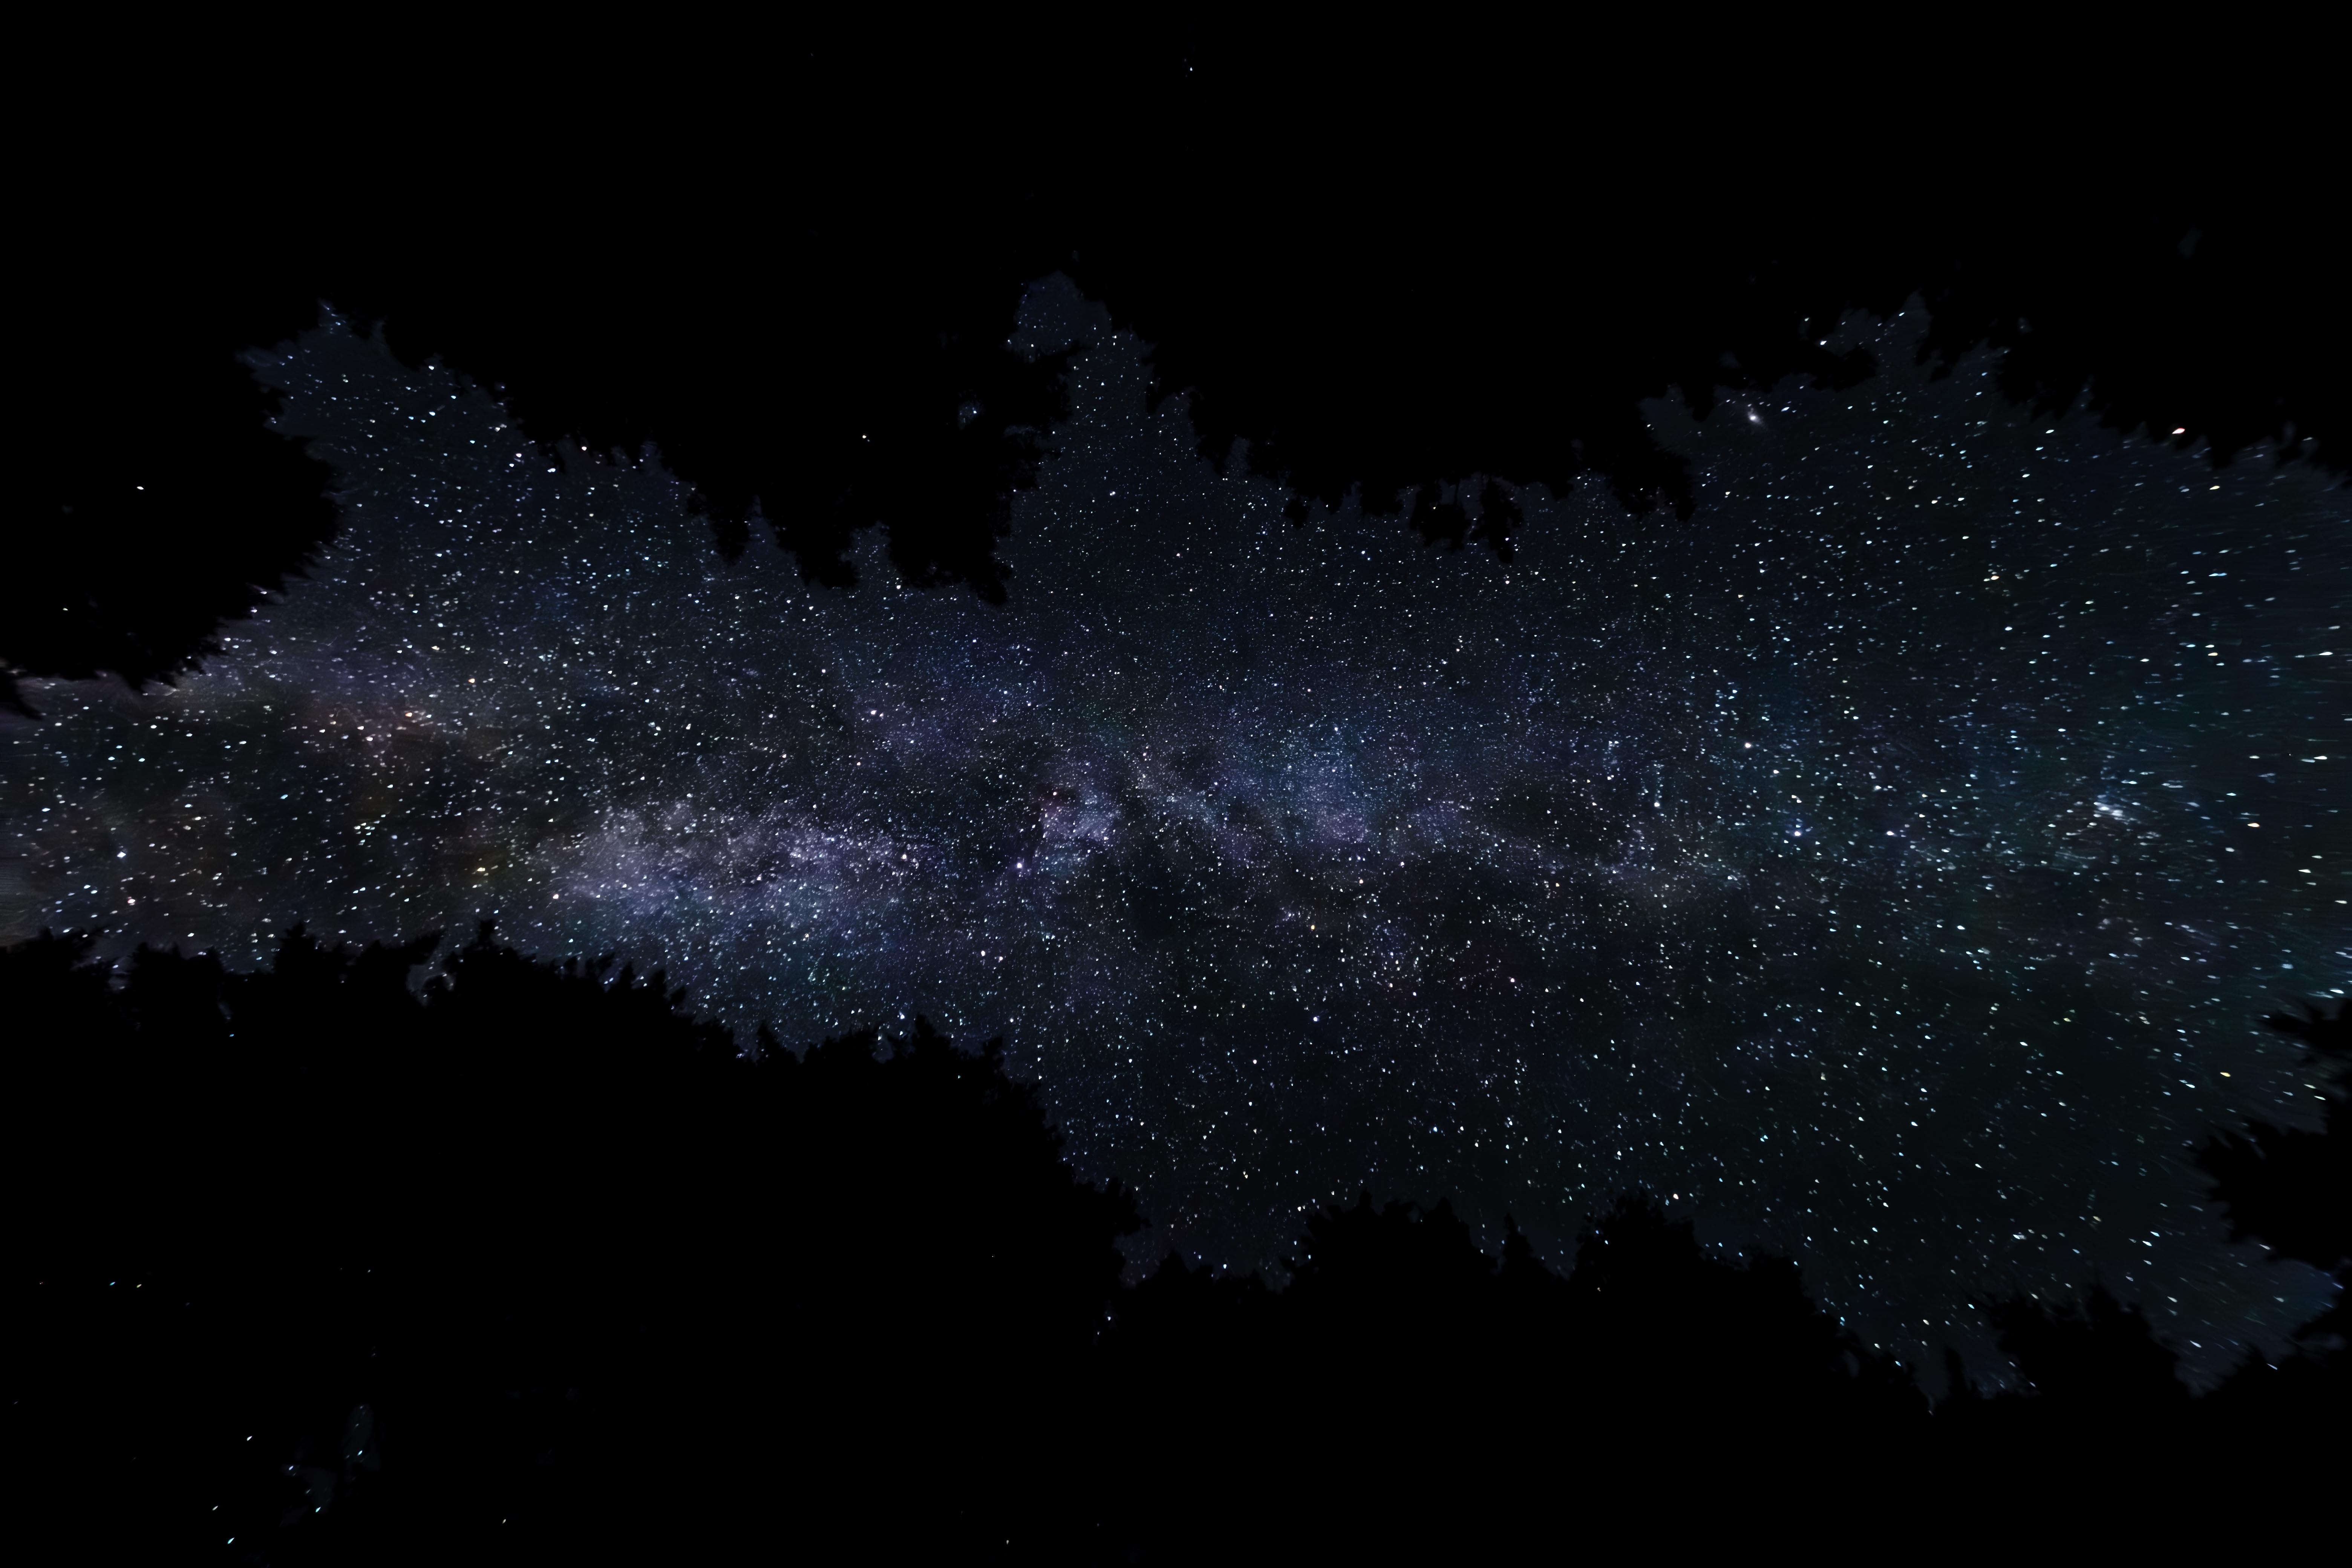
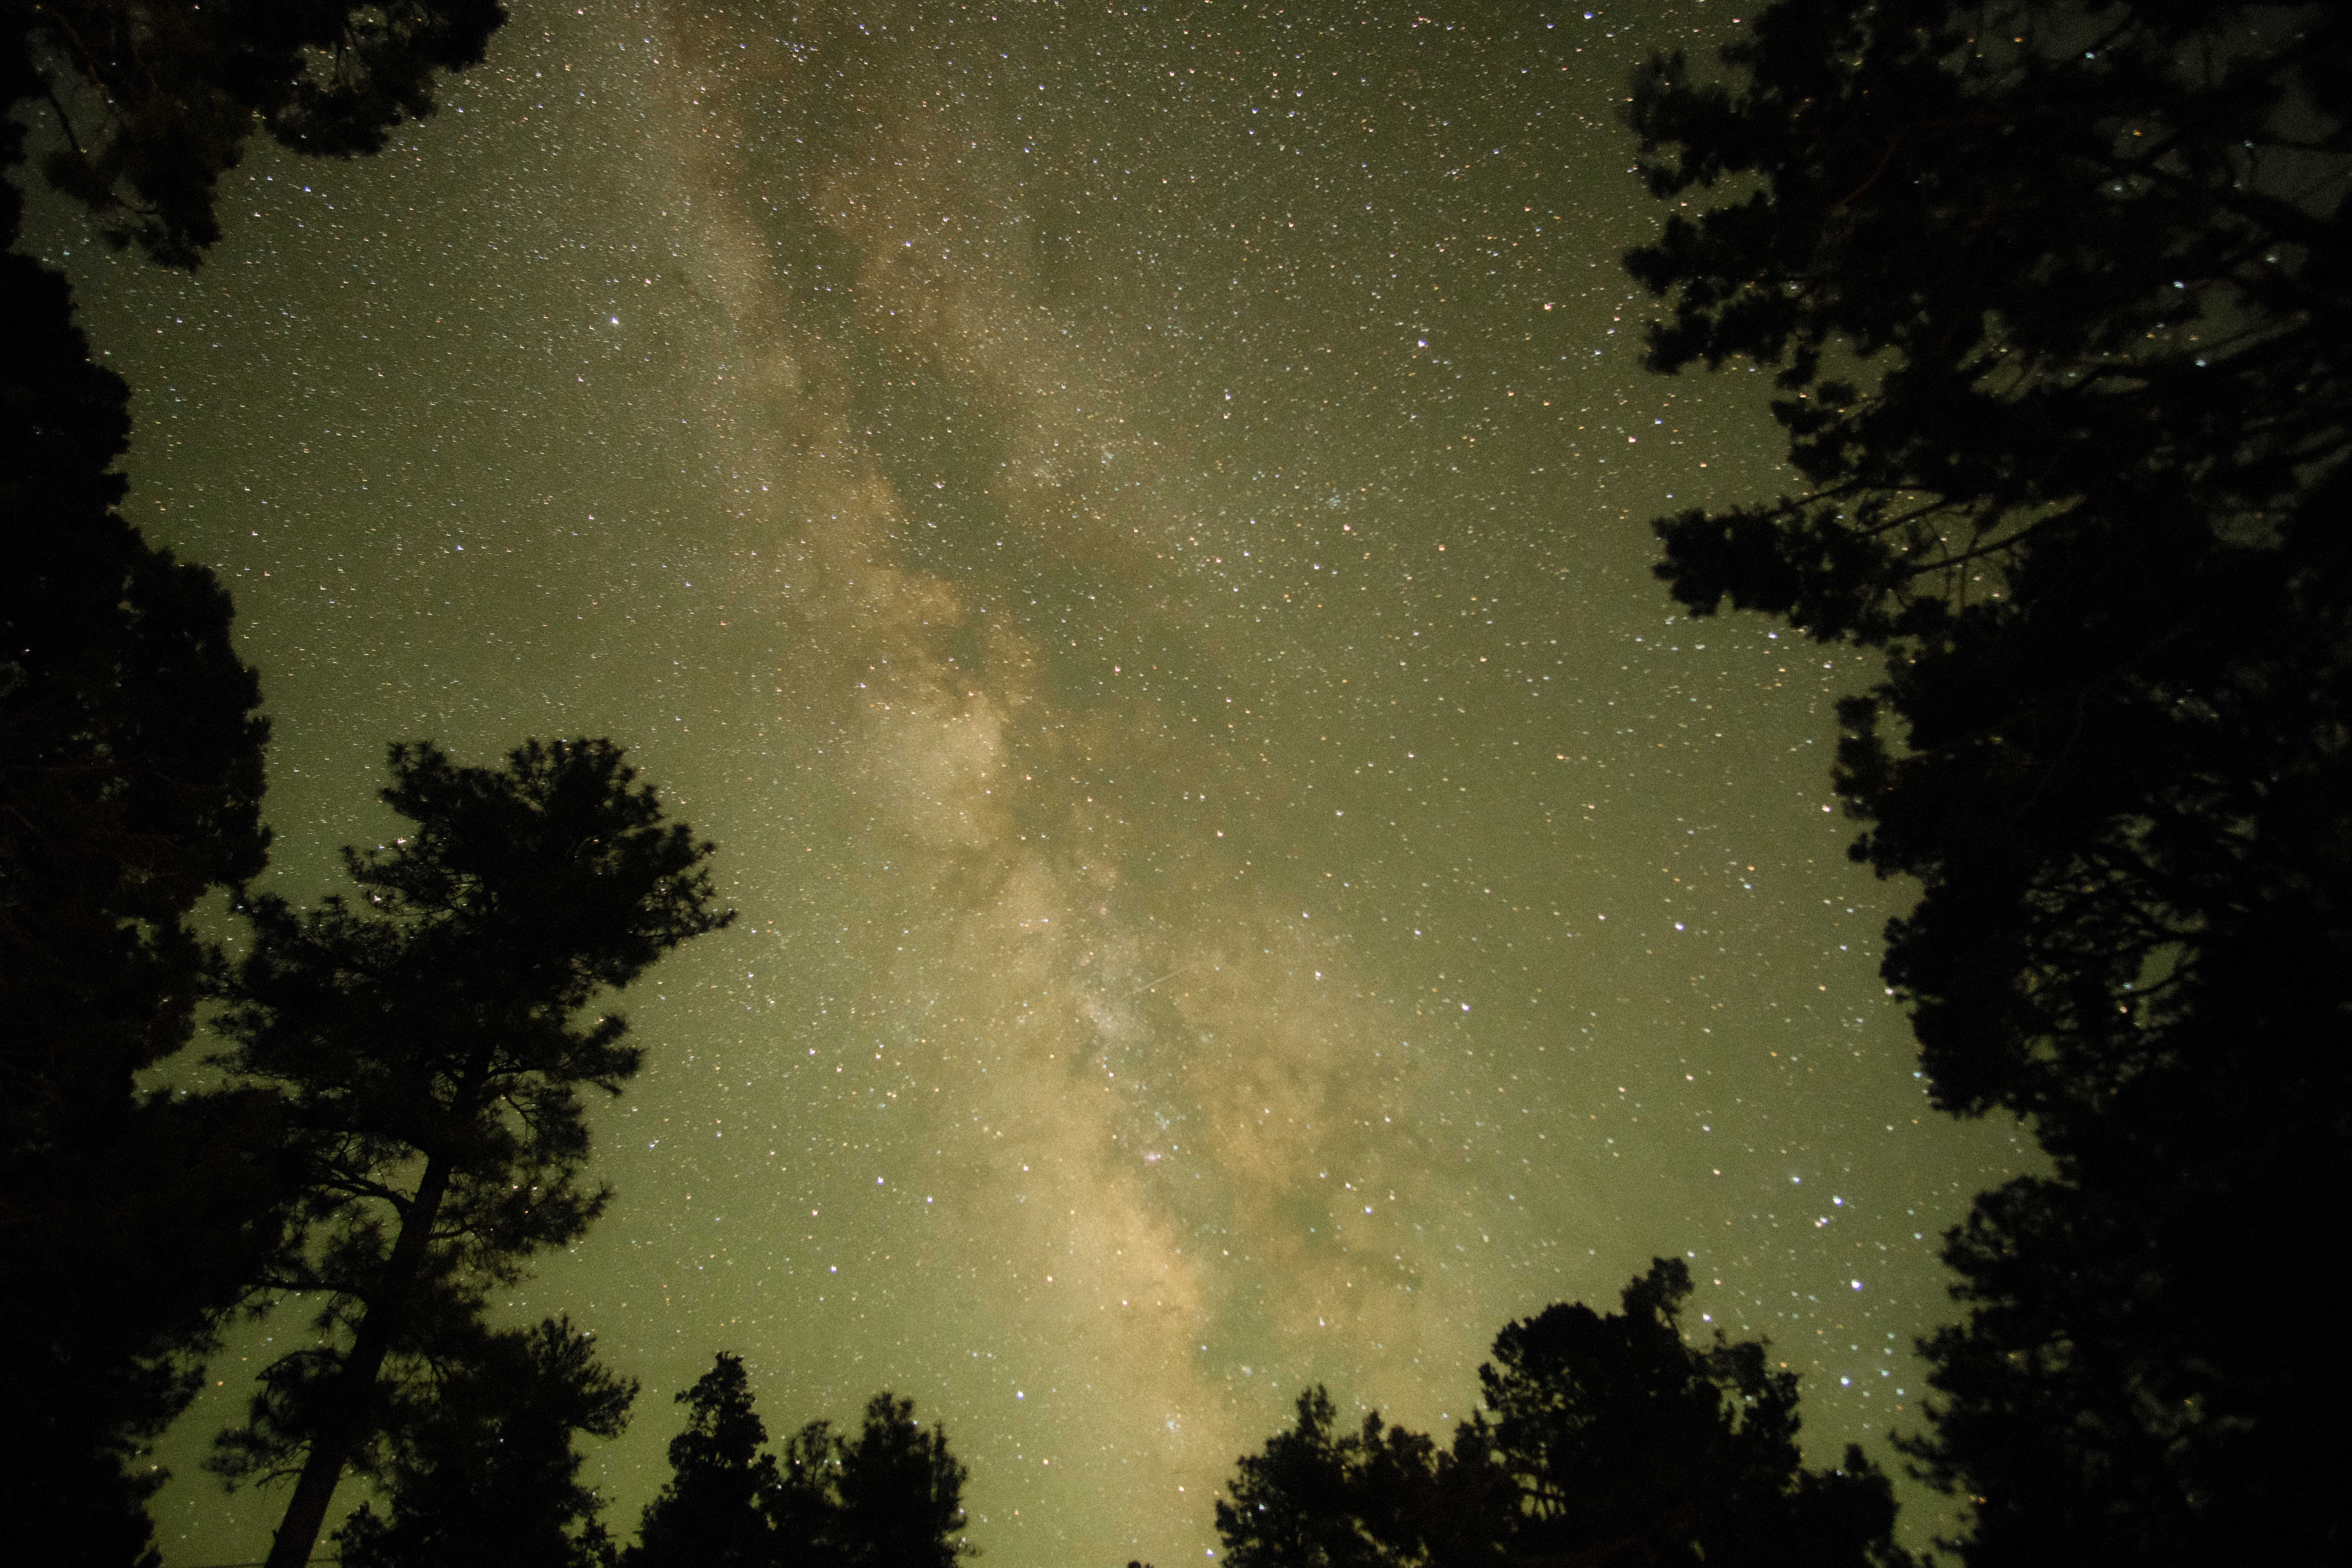
That night, I woke with a need to visit the restroom—an inconvenience I try to avoid when camping. As I unzipped the tent and fumbled for my shoes, I used a trick from my childhood 'spy school' days: squinting one eye shut to preserve night vision against the harsh restroom lights.
When I stepped back into the night, I opened that eye to a breathtaking sight—the Milky Way directly above our campground. I unzipped the tent, reached for my camera and took a few photos.
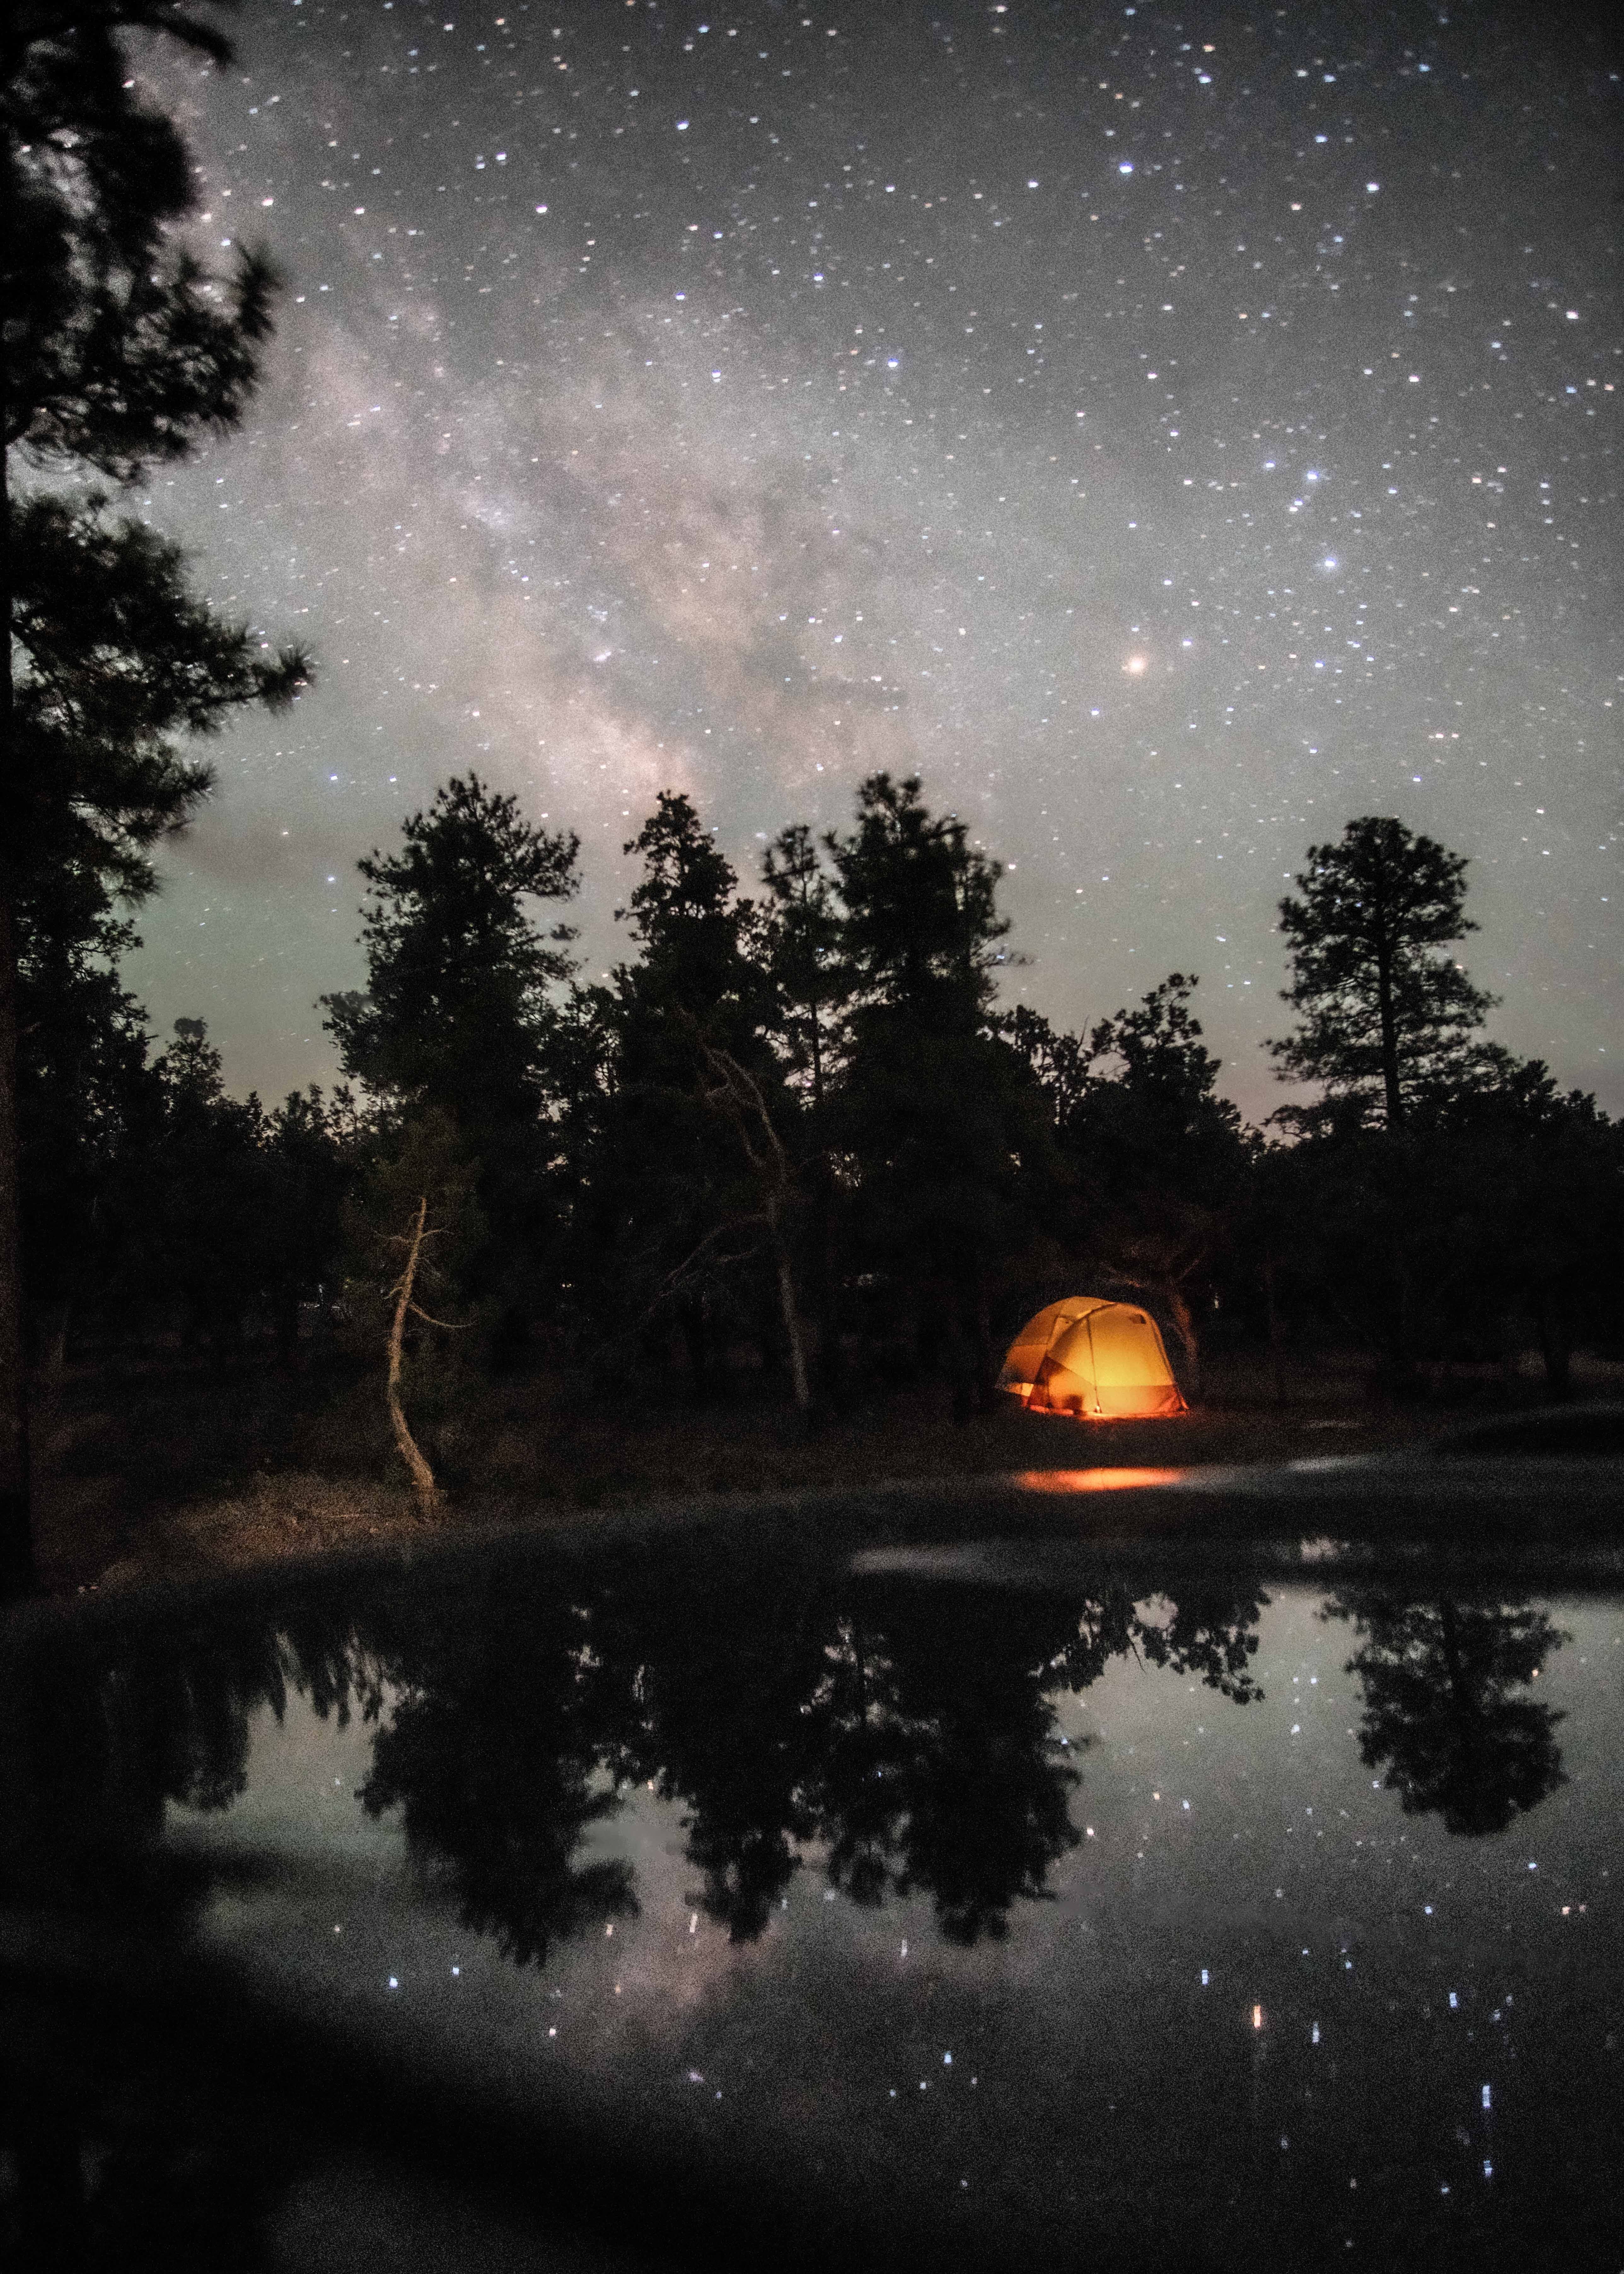
The next night, I sat up late around the campfire and watched the Milky Way rise.
Just before tucking in for the night, I decided to take one quick picture with a different composition than the night before.
I didn’t bring a tripod on this trip so I rested the camera on the roof of the van to keep it steady.
After a few shifts in composition, I accidentally included my neighbour’s tent in the photo. Strangely, it was glowing in the photo. But to the naked eye, the tent was enshrouded in darkness.
I realized there must be a faint light inside—perhaps a tiny LED from a digital device—that appeared drastically amplified in my photo.
This stark difference between human vision and the camera's sensor reminded me that even the faintest light sources can dramatically influence the outcome of a night shot.
The technical becomes existential
Despite my growing experience in Milky Way photography—mastering camera settings, pinpointing the perfect times and seasons, and even planning compositions during daylight—the rest of the trip was filled with obstacles.
Thick cloud cover routinely obscured the skies. On the rare occasions when the clouds chose to part, a bright, overpowering moon dominated the sky, washing away the subtle presence of the Milky Way.
Every time I dared to set up my tripod and turn my lens toward the heavens, the universe would promptly cloak its stars.
The challenges of capturing the Milky Way seemed less about the science of photography and more about a personal trial.
Each failure, each cloud-obscured night sky felt like the cosmos questioning my resolve.
“Did you think this would be easy?”
In five weeks of sleeping outdoors, the likelihood of getting a good photo of the Milky Way was almost zero. And, that is what makes it so exciting. Any good photo I get is hardwon. Even the sub-standard ones hold a specialness.
Milky Way photography isn’t cheap. It demands a willingness to try, fail, and struggle to improve.